Viewing entries in
How to

10 Comments

Little Prince Nursery Sneak Peek

Our little Prince will be arriving soon and we have finally finished his nursery,(well sort of) .....I have painstakingly agonised over the smallest of details, sometimes to the point of insanity, & have finally released the pressure of trying to make it perfect and I'm excepting the realization that I will never be fully finished with final details ! 😬 So here is a sneaky little look into what we have accomplished so far...suggestions and advice are completely welcomed! 


IMG_0309.JPG

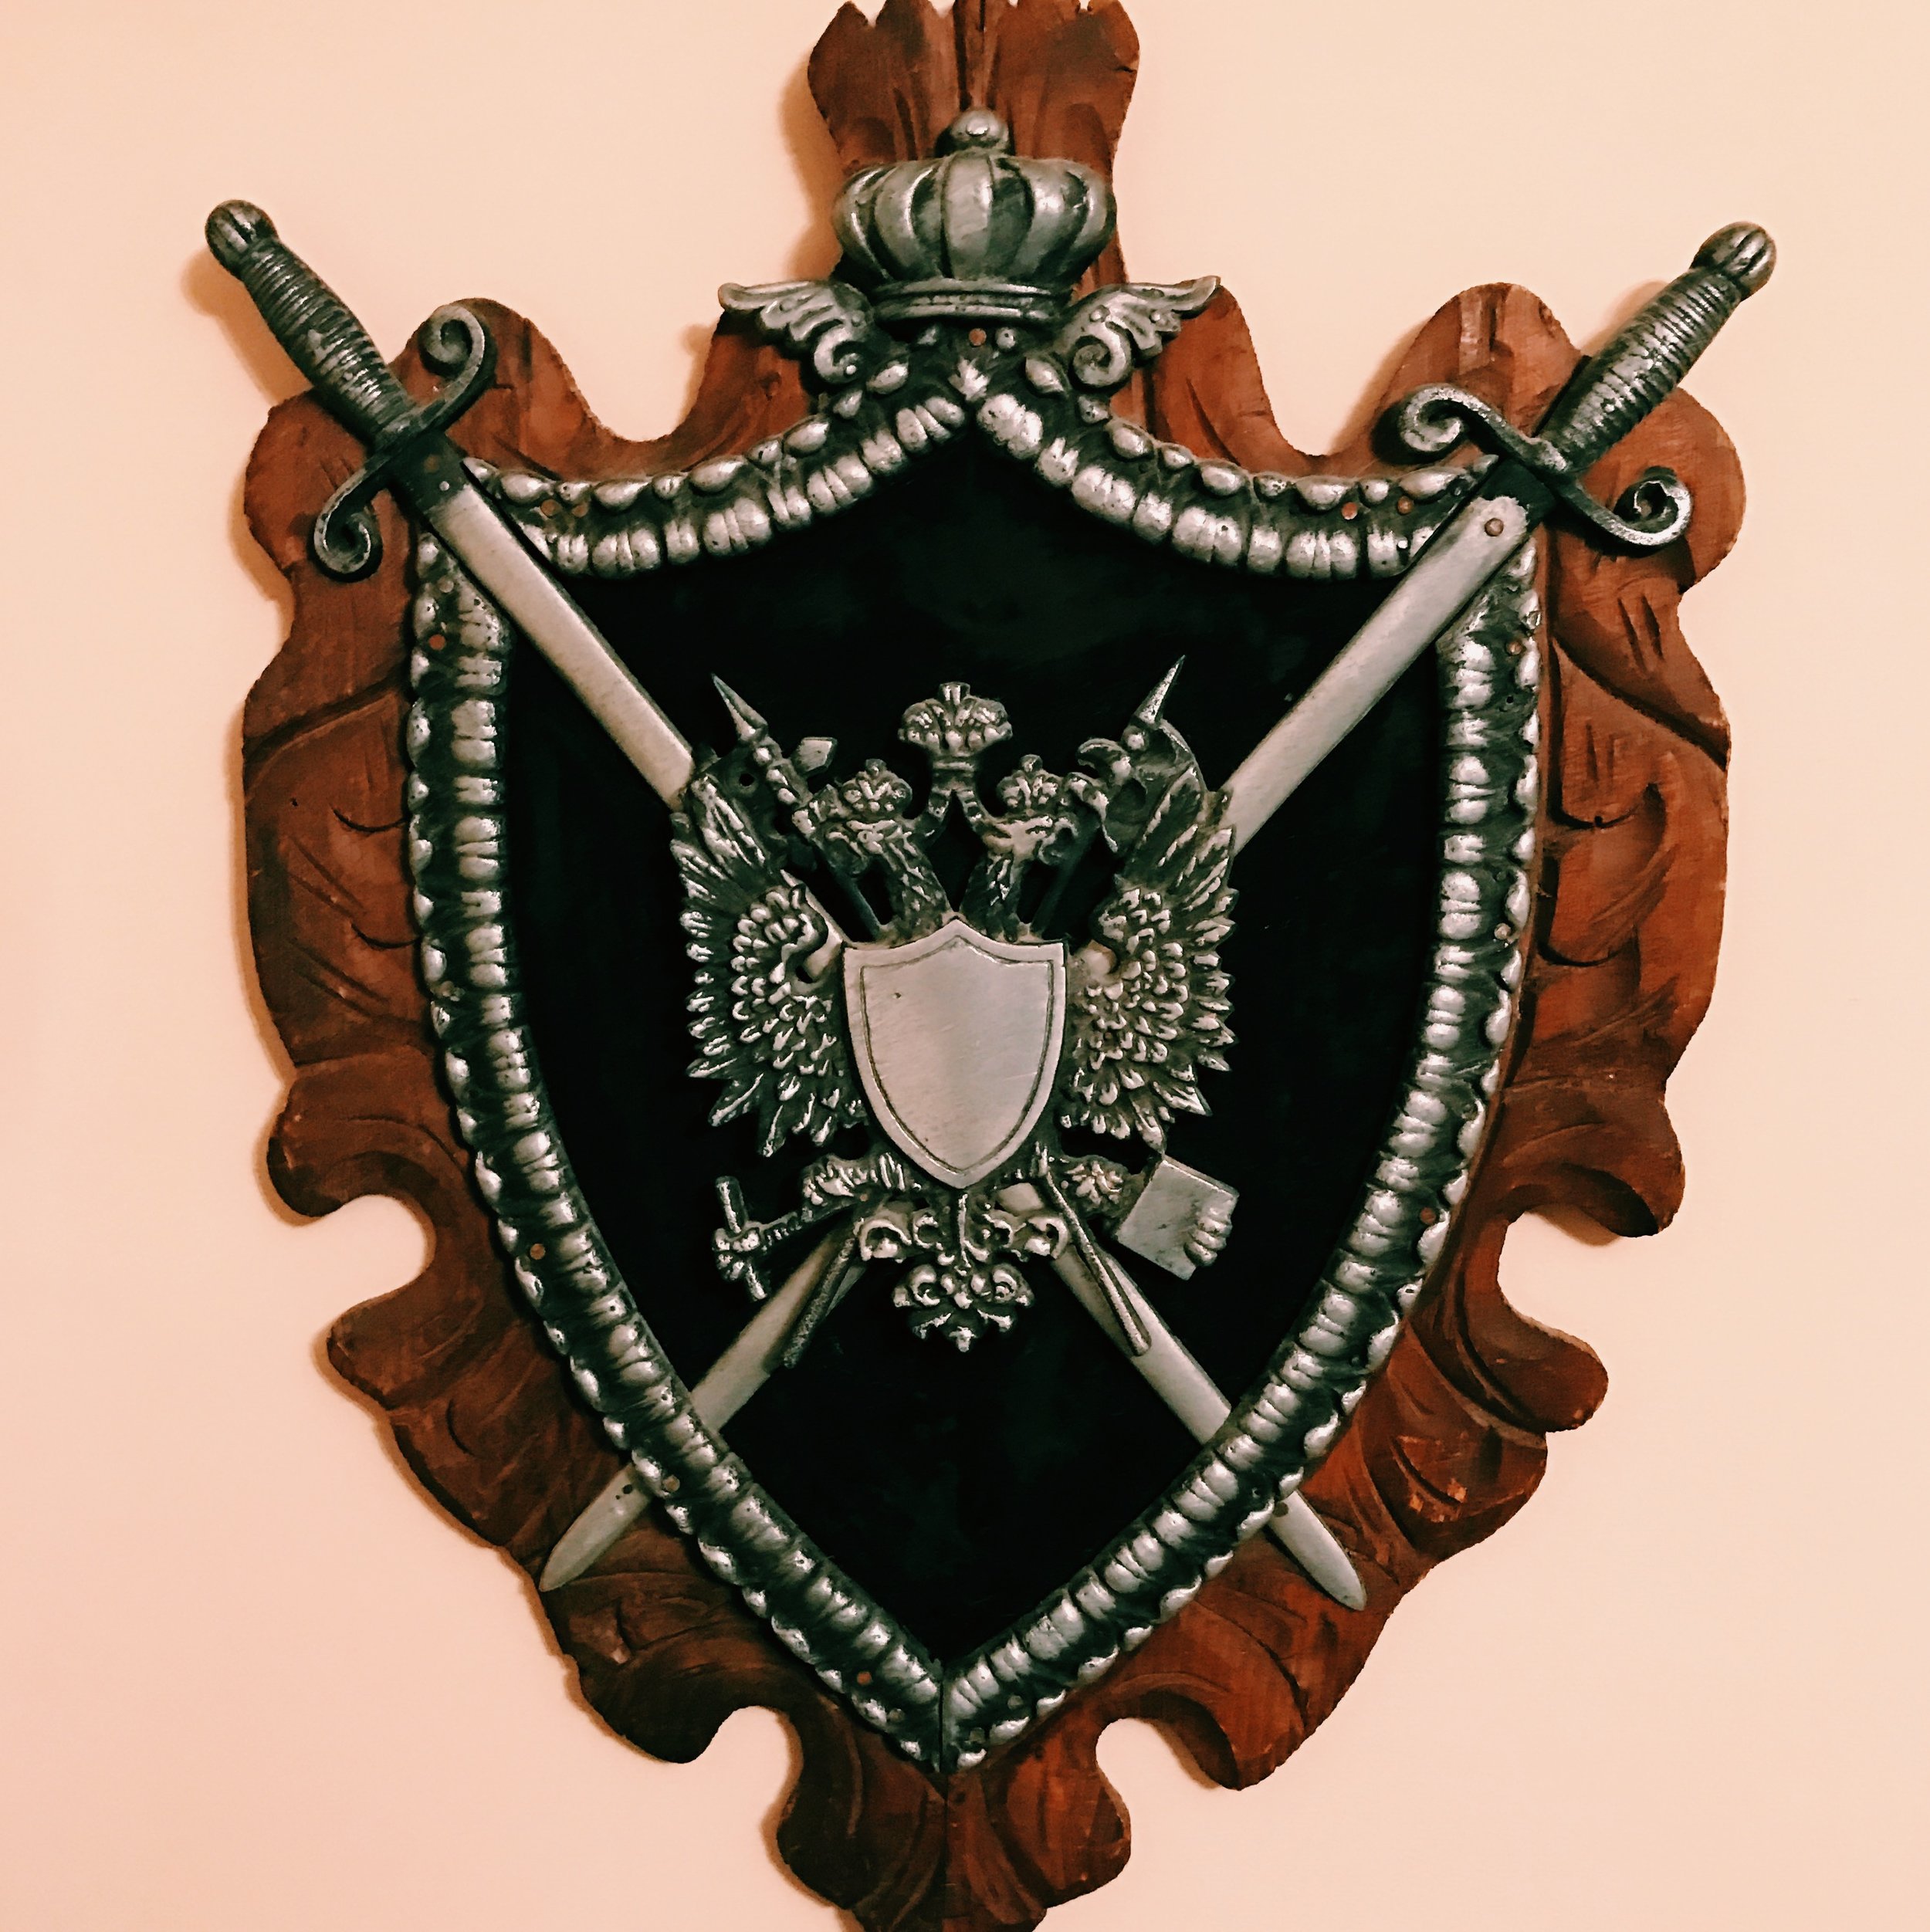
It all started with this piece! We really wanted the vibe of the nursery to resemble a sort of dungeon feel...knights in shining armour....royal prince....but in a baby way...😬 So I came across this piece at a flea market for $10! The guy asked me what it was for and the look on his face when I said baby nursery... 😬😳😳  


IMG_0303.JPG

I loved this cradle the minute I laid eyes on it 👀...I purchased from www.brattdecor.com and the great thing about it is it converts from cradle to crib to toddler bed!  


IMG_0311.JPG
IMG_0310.JPG
IMG_0314.JPG

This corner of the nursery is where we struggle the most with what to do! It literally changes daily! Since our changing table and rocking chair are actually placed in our sitting room, this corner doesn't really serve us a purpose yet...so any suggestions are welcomed! 😊 


IMG_0317.JPG
IMG_0313.JPG
IMG_0315.JPG

Thanks for taking a look into our nursery! More to come soon!  

Love, 

Allison

10 Comments

1 Comment

"Little Prince" Baby Shower

    We recently celebrated our "Little Prince," with a beautiful baby shower thrown by our family! The day started off on a very cold note as it ended up being the coldest day of the year so far for Alabama, however, the warmth we felt from our family and friends made the day truly magical! Here are a few photos from our special day! 


IMG_0092.JPG
FullSizeRender.jpg
IMG_0088.JPG
This cake!!! In 💙💙 

This cake!!! In 💙💙 

IMG_0082.JPG
IMG_0079.JPG
IMG_0083.JPG
IMG_0081.JPG
IMG_0086.JPG
IMG_0067.JPG
IMG_0070.JPG
IMG_0089.JPG
IMG_0078.JPG
IMG_0090.JPG
FullSizeRender.jpg
IMG_0041.JPG
FullSizeRender.jpg
FullSizeRender.jpg
FullSizeRender.jpg
IMG_0037.JPG
IMG_0050.JPG
IMG_0051.JPG
IMG_0018.JPG
IMG_0087.JPG
FullSizeRender.jpg
FullSizeRender.jpg

A very special thank you to our family for making this day so beautiful! We love you guys!!  

Love, 

Allison & Anthony  

**Pillow Cake prepared by Piece-A-Cake Bakery Chattanooga,TN 

1 Comment

Harry Potter Gender Reveal

1 Comment

Harry Potter Gender Reveal

We had so much fun creating a Harry Potter themed Gender Reveal ( sorting hat and all), for our family! Here are a few pics from the party, along with some details and links if your planning your own Harry Potter party!  

IMG_7003.JPG
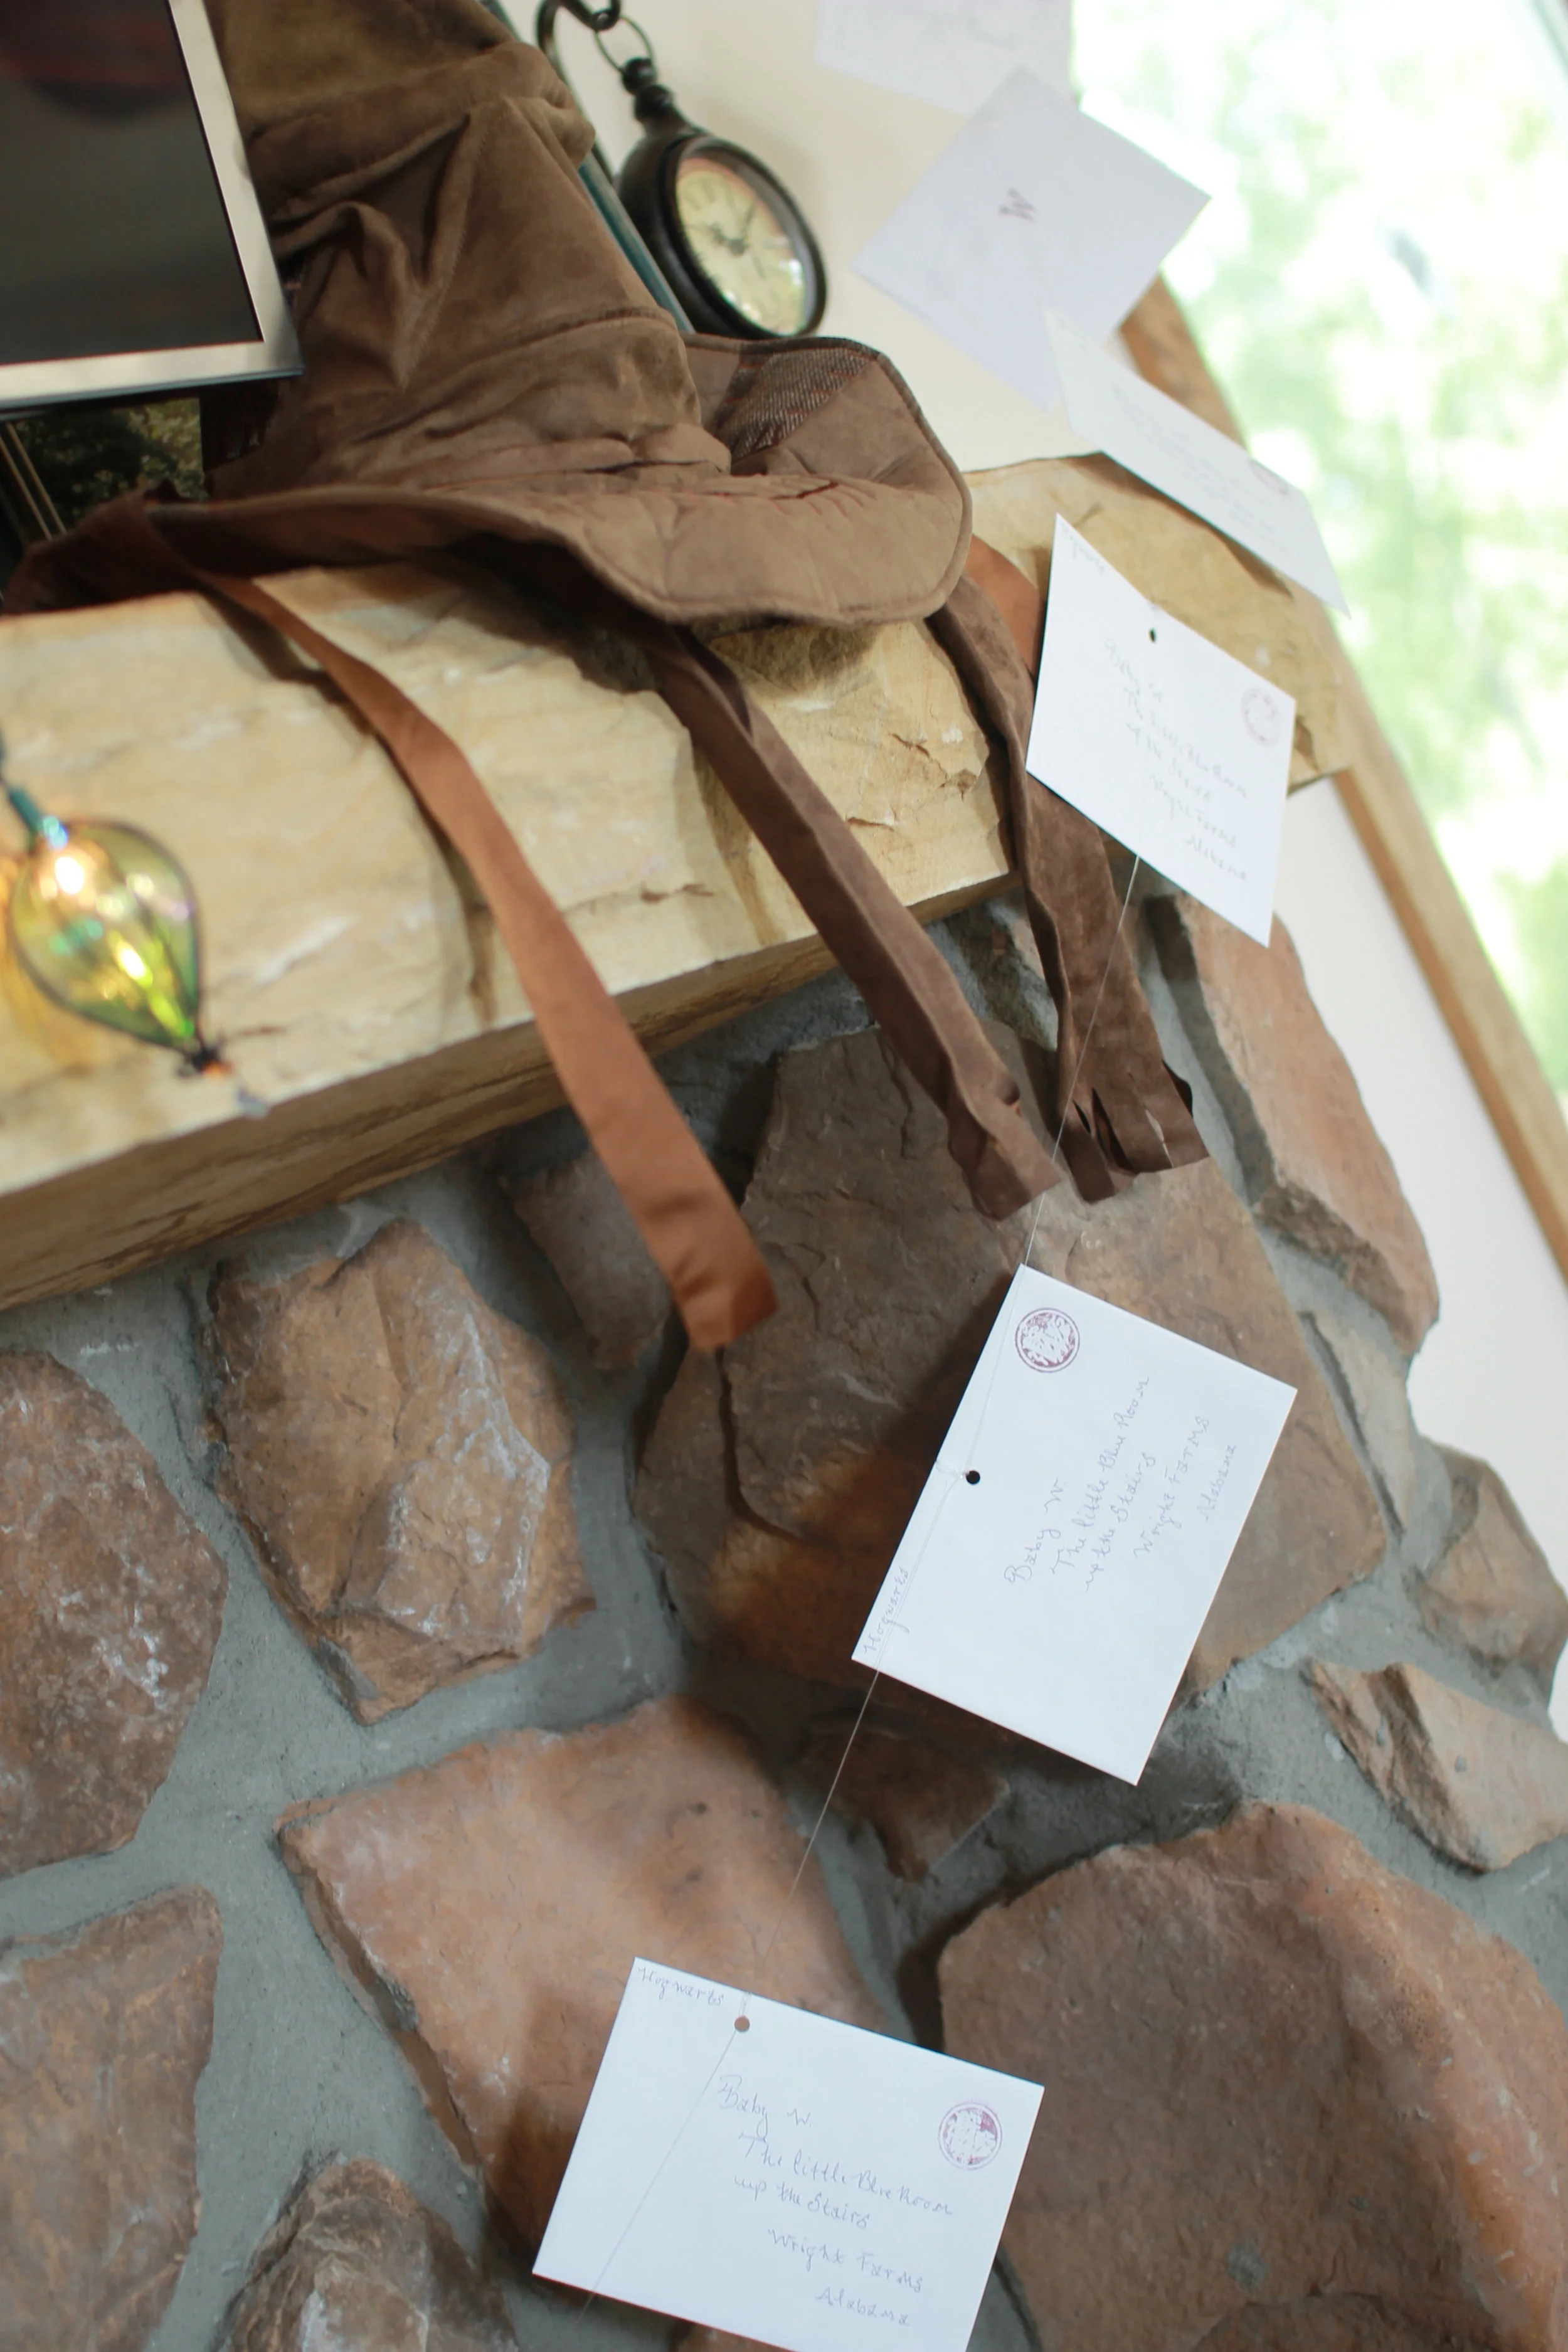
Using fishing wire, we were able to string the letters through a hole punch and hang them in different directions. This gave the illusion that the letters were magically flying in from the fireplace! 

Using fishing wire, we were able to string the letters through a hole punch and hang them in different directions. This gave the illusion that the letters were magically flying in from the fireplace! 

We made the letters personal by adding our own "Nursery" address. 

We made the letters personal by adding our own "Nursery" address. 

IMG_7015.JPG
We made our own version of the famous Butterbeer! Just mix cream soda, a hint of butter scotch flavouring, & ice cream! 

We made our own version of the famous Butterbeer! Just mix cream soda, a hint of butter scotch flavouring, & ice cream! 

IMG_7004.JPG
I decided to make the cake from scratch bc I love to bake and thought why not? The link to "Apple Cider Spice cake" is below.   http://pin.it/v_JlpTl 

I decided to make the cake from scratch bc I love to bake and thought why not? The link to "Apple Cider Spice cake" is below.  

 http://pin.it/v_JlpTl 

IMG_7006.JPG
What I wore! Blouse: Urban OutfittersJeans: 7 for all MankindVest: Molly GreenShoes: Minnetonka  Belt: American Eagle   

What I wore! 

Blouse: Urban Outfitters

Jeans: 7 for all Mankind

Vest: Molly Green

Shoes: Minnetonka  

Belt: American Eagle  


IMG_7013.JPG
IMG_7010.JPG
IMG_6949.JPG
Baby Bump courtesy of this guy❤️ 

Baby Bump courtesy of this guy❤️ 

And this is the lady who makes all of the magic happen! My parties would be total duds without her!  

And this is the lady who makes all of the magic happen! My parties would be total duds without her!  

Watch the video of our Reveal!  


IMG_7034.JPG

1 Comment

Apple Picking

Comment

Apple Picking

IMG_6996.JPG
IMG_6994.JPG
FullSizeRender.jpg
IMG_6997.JPG
FullSizeRender.jpg
IMG_6998.JPG
FullSizeRender.jpg

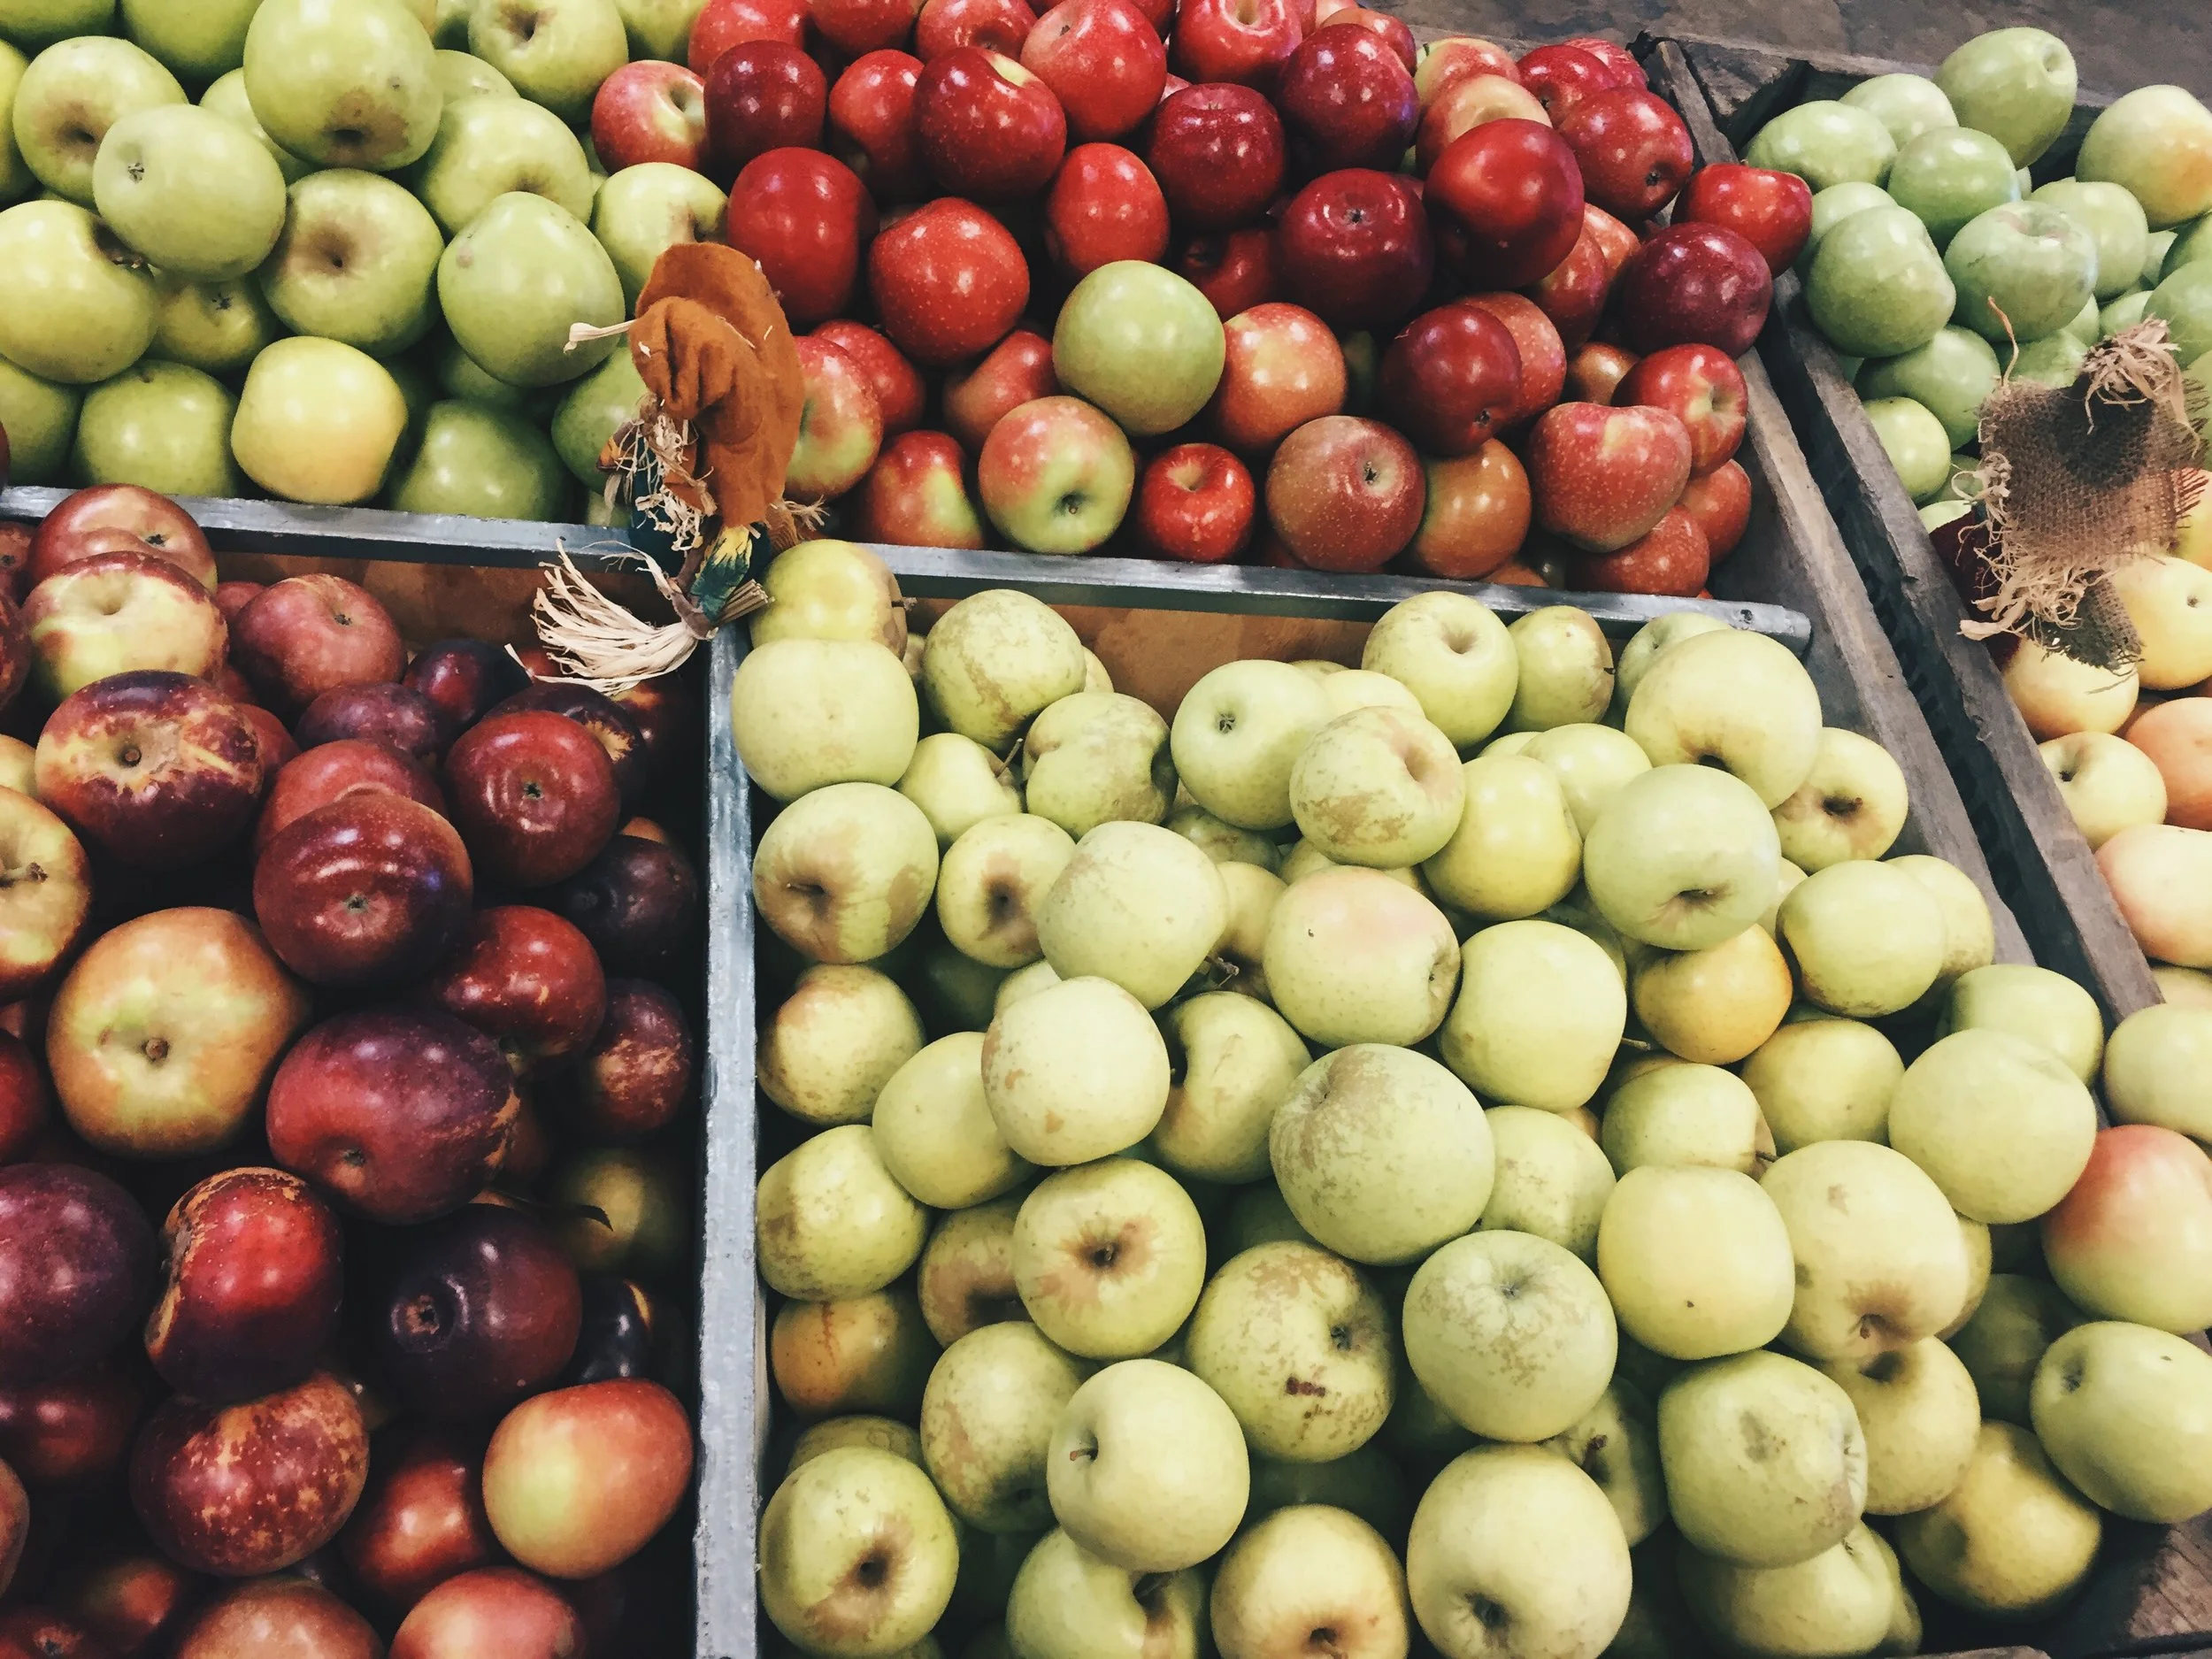
This weekend my mommy and daddy & myself decided to take a quick little road trip down to Ellijay, Ga for their annual Apple Festival! What a lovely little place full of character and southern hospitality, we had an absolute delightful time! We came home with a car full of apples, pumpkins, & memories to last a lifetime. 💗  

Allison

~OUTFIT DETAILS~ 

I'm in absolute love with this pinafore!  It's so versatile and  very accommodating of my growing baby bump!

Maroon Velvet Pinafore - Target

White Blouse- American Eagle

 Boots- H&M

knee socks- Aerie  

Choker- Forever 21  

Comment

Bring Your Flowered Hat

1 Comment

Bring Your Flowered Hat

Insert "Sixpence None the Richer" lyrics here...go on... You know you want to...

image.jpg
image.jpg
image.jpg
image.jpg
image.jpg
image.jpg
image.jpg

Lace Crop Top - Pac Sun

Skirt - Forever 21

Platform Sandals - Just Fab

Hair maintained with "Overtone" Conditioner  

"Kiss Me" by Sixpence None the Richer started playing in my mind as soon as I saw this skirt and I knew it needed to be mine. I love this 90's "sunflower child" look and will probably be living in these clothes throughout the Spring!  

1 Comment

Rocksbox

Comment

Rocksbox

So I recently teamed up with accessory company Rocksbox  & wanted to show you some of the pieces I have been in    Love  with lately and how I styled them!  Interested in something you see? Use my coupon code ( allisonpaigemcbryarxoxo ) for a one month subscription to  Rocksbox  free! 

image.jpg
House of Harlow "Pave Tribal Triangle pendant"Elise M "Athena"   

House of Harlow "Pave Tribal Triangle pendant"

Elise M "Athena"  


image.jpg
House of Harlow "Arrow Affair Ring" 

House of Harlow "Arrow Affair Ring" 

Kendra Scott "Rayne Silver Necklace"  

Kendra Scott "Rayne Silver Necklace"  

image.jpg
image.jpg
image.jpg

Comment

DIY Halloween Costumes: APPS!

1 Comment

DIY Halloween Costumes: APPS!

DIY APP costumes! 

DIY APP costumes! 

So recently my little cousins came to me with this years Halloween costume order and when the words that came out of their mouths were, "Apps," I thought I was in for a ton of work! But with just a few simple items & a little time to spare, these costumes were super easy (and fun) to make! Read below on how to make a DIY "App Store" and "Pinterest app!"


For the App Store cut outs use a foam board to cut out desired "app" size.  

For the App Store cut outs use a foam board to cut out desired "app" size. 


Using Velcro, attach the foam board squares to your tshirt. 

Using Velcro, attach the foam board squares to your tshirt. 

Print out the desired apps & use mod podge to adhere the sheets of paper to board! 

Print out the desired apps & use mod podge to adhere the sheets of paper to board! 

I free handed the Pinterest logo onto a tshirt and then filled it in using white fabric paint! 

I free handed the Pinterest logo onto a tshirt and then filled it in using white fabric paint! 

Below is a link to a video I made showing you an easy no sew method to making the tutu!  

Easy DIY app Halloween Costumes! 

Easy DIY app Halloween Costumes! 

And you are finished! A unique and easy Halloween Costume for all ages! 

1 Comment

Today I made A Pillow

Comment

Today I made A Pillow

So recently we've been doing a bit of remodeling in my home, consisting of updating existing rooms and adding on a new living/dining room, and finally the time has come to start  decorating! I've always struggled with finding a design balance, because I find myself wanting to incorporate seasonal aspects into my home decor, which can be timely and kind of expensive. One way I've been able to switch up my style whenever I take a fancy and keep my storage  and budget in check is by making my own pillow covers! 

Pillow covers are an easy way to change up the little accents in your home, and by making them yourself you have the freedom to choose exactly what type and style of fabric you want which gives your room a personal touch!

I had some pillows that came with my sofa, that were definitely not going to work with the design of the room, but had a great shape and form, so I decided to  make some quick and easy pillow covers with a fabric design that I love! 


Start by cutting one piece of fabric to your desired size. (My measurements are 22x22) 

Start by cutting one piece of fabric to your desired size. (My measurements are 22x22) 

Then cut two pieces (these will be your "envelopes") to the desired size. My measurements for these two were 22x14. To find your envelope size, take your first measurement add 6 then divide by 2! Ex: 22+6=28. 28 divided by 2= 14  making measure…

Then cut two pieces (these will be your "envelopes") to the desired size. My measurements for these two were 22x14. To find your envelope size, take your first measurement add 6 then divide by 2! Ex: 22+6=28. 28 divided by 2= 14  making measurement 22x14 .  

Take your two envelope pieces and fold down one edge about and inch, then sew a straight stitch all the way down. Repeat for second piece.  

Take your two envelope pieces and fold down one edge about and inch, then sew a straight stitch all the way down. Repeat for second piece.  

Lay your large piece on table front side up then place your envelope pieces on top of large piece back side up with sewn stitch in middle. 

Lay your large piece on table front side up then place your envelope pieces on top of large piece back side up with sewn stitch in middle. 

image.jpg
Your envelope pieces will overlap each other a bit and that is ok! Then take straight pins and pin around the edges of entire piece to ensure it stays in place while sewing. 

Your envelope pieces will overlap each other a bit and that is ok! Then take straight pins and pin around the edges of entire piece to ensure it stays in place while sewing. 

Begin sewing a one inch seam down all sides of fabric, removing the straight pins as you go!  Once you've seen all edges you can snip a little of the corners off and fold your cover inside out .... Or in this case... Right side in...!?

Begin sewing a one inch seam down all sides of fabric, removing the straight pins as you go!  Once you've seen all edges you can snip a little of the corners off and fold your cover inside out .... Or in this case... Right side in...!?

Here is my original pillow that I will be placing into the cover! 

Here is my original pillow that I will be placing into the cover! 

And voila!  Here is the finished piece!  (Front)

And voila!  Here is the finished piece!  (Front)

(Back) envelope covers are easy to make and easy to wash! 

(Back) envelope covers are easy to make and easy to wash! 

image.jpg
Now my pillows compliment each other and the room nicely!  

Now my pillows compliment each other and the room nicely!  

Thanks for reading this post, I hope you found it helpful!!

love always, 

Allison

Comment